


Downloading and installing Steam games can be a convenient way to enjoy your favorite titles, but their large file sizes often pose storage challenges. Many gamers find themselves running out of space on their primary drive, especially as game sizes continue to grow. Fortunately, there are straightforward methods to download, move, and manage Steam games on an external hard drive, helping you free up space while maintaining quick access to your game library. This guide walks you through the best practices for setting up and installing Steam games directly onto an external drive, ensuring a smooth gaming experience without cluttering your main storage.
—
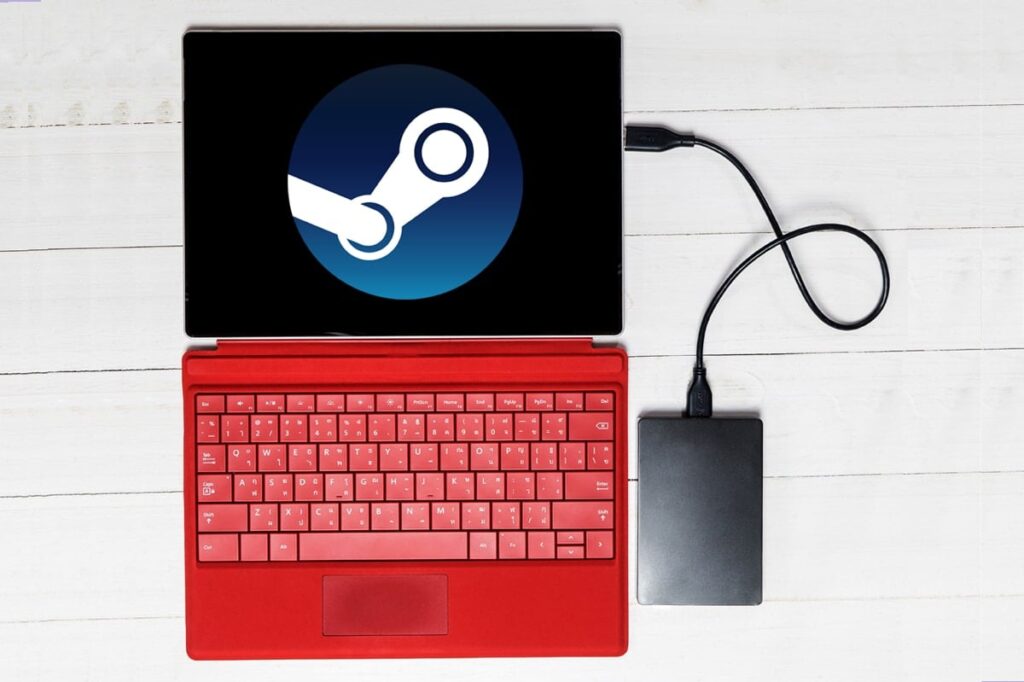
How to Download & Install Steam Games on an External Hard Drive
Large game files can quickly fill up your internal hard drive, with some titles consuming 8 to 10 GB or more of space. The good news is that Steam allows you to install games directly onto an external hard drive, making it easier to manage your storage. This approach not only saves space but also provides flexibility if you want to carry your game library with you. For additional insights into the evolving landscape of game development and the role of cultural influences, check out this detailed overview on industry trends in game development.
Before diving into the setup, it’s important to understand the initial steps and precautions to avoid data loss or installation issues. Proper configuration ensures your games run smoothly from the external drive, just as they would on your internal storage.
—
Preliminary Checks
Before downloading or transferring game files to your external hard drive, perform essential checks to prevent potential data corruption or incomplete installations:
- Ensure that the connection between your external hard drive and your PC remains stable throughout the process. Interruptions can cause file corruption or failed transfers.
- Verify that all cables are properly connected, without any looseness, damage, or poor contact, to maintain a reliable data transfer.
- Make sure your external drive has sufficient free space for the game you intend to install or move.
These initial precautions help maintain data integrity and ensure a seamless gaming experience. If you’re interested in expanding your skills further, you might explore how to start a career in remote game development by visiting this informative resource.
—
Method 1: Download Directly to the External Hard Drive
This method involves configuring Steam to download and install games directly onto your external hard drive. Follow these detailed steps:
1. Connect your external hard drive to your Windows PC and ensure it is recognized properly.
2. Launch Steam and log into your account with your credentials.
3. Click on Steam in the top-left corner and select Settings.
4. In the Settings menu, navigate to Downloads, then click on STEAM LIBRARY FOLDERS.
5. In the Storage Manager window, click on the (plus) + icon next to your system drive (e.g., Windows (C:)).
6. Select your external hard drive from the drop-down list, which should appear as a separate drive letter.
7. Create a new folder or choose an existing folder on the external drive where the game will be stored, then click Select.
8. Search for the game you want to install, such as Galcon 2, using the search bar.
9. Click Play Game or initiate the download process.
10. When prompted, select the external hard drive as the installation location from the Choose location for install drop-down menu, then click Next.
11. Allow the installation to complete. Once finished, click Finish.
After installation, confirm the game’s presence by revisiting the Storage Manager to see if the external drive now displays the game files. Proper setup ensures quick access and easy management of your gaming library. For additional tips, you can learn about where Steam games are installed.
—
Method 2: Move Existing Games to an External Hard Drive
If you already have a game installed on your internal drive, you can relocate it to an external hard drive without re-downloading. This is an efficient way to free up space. Here’s how:
1. Connect your external hard drive to your PC.
2. Open Steam and go to your Library.
3. Right-click on the game you wish to move and select Properties.
4. Navigate to the Local Files tab and click on Move install folder….
5. From the list of available drives, choose your external drive (e.g., G:).
6. Confirm the move by clicking Move and wait for the process to complete. You can monitor progress in the Moving Content window.
7. Once finished, click Close.
This method streamlines managing your game files and allows you to quickly switch storage locations. To troubleshoot common issues, refer to how to fix Steam crashing problems.
—
Pro Tip: Verify the Integrity of Game Files
After installing or moving your games, it’s advisable to verify that all files are correctly transferred and free from corruption. Steam offers a built-in feature to check the integrity of game files:
1. Open your Steam Library.
2. Right-click the game and select Properties.
3. Go to Local Files and click on Verify Integrity of Game Files.
4. Wait for the process to complete. If all files are validated successfully, you’ll see a confirmation message.
This step ensures your games run smoothly without errors. For further insights into the influence of Western developers, explore cultural analysis of western game development.
—
Final Thoughts
With these methods, you can easily manage your Steam library by downloading games directly to or moving them onto an external hard drive. This approach helps optimize storage space, keep your system uncluttered, and ensures quick access to your favorite titles. Whether you prefer configuring Steam for direct downloads or relocating existing games, these techniques will streamline your gaming setup. If you encounter issues or want to expand your knowledge, exploring topics like how to start a remote game development career or tips for winning in game dev stories can be beneficial. Feel free to share your experiences or ask questions in the comments below.